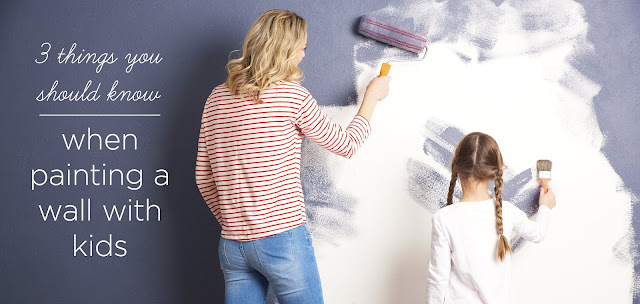
Three things you should know when painting a wall with kids
Are you surrounded by tired walls? Perhaps they are a little beat-up from furniture being pushed into them. Or maybe you don't like the color anymore. Or they are the canvas for your 2-year-olds most recent masterpiece. Side note: a magic eraser is wonderful for removing these gems.
We pretty much fall into all the above. But the main issue was the color. We are a colorful family. In our first home together, every room was a different color. And we loved it.
When we bought this house, all of the walls in the common areas, a bedroom and a bathroom were all the same. A neutral cream with white trim. At first, not too bad. But it's been two years now and the monochromatic interior was driving us crazy. Not to mention the fact that the previous owner had used flat paint throughout - even in the bathroom and kitchen. Yikes.
So, off to the Home Depot paint section. (We are Behr people.) We had decided that we wanted a blue to compliment the cream and the large painting that we already had in the living room. I went searching through the paint chips and came up with seven options.
We like to attach the paint chips to the wall with tape and then view them throughout the day and in various lighting. We both agreed right off on the bottom one next to the painting.
Saturday morning, I sent hubby off to the store to pick up the supplies we didn't already have:
- 1 gallon of paint
- paint sticks
- roller tray liners
- painters tape
- drywall mud/spackle
Click here to download a printable list of everything you'll need.
Three Things You Need to Know
Assign Roles.
Make sure you have a designated painter and a designated babysitter at all times. You can switch roles, but you'll want to be sure to have someone who can keep little hands out of wet paint.
Let Them Help.
Kids love to help. But when you’re painting, you’ll want to limit the areas where they can help. We found three stages where the kids could help us:
- cleaning the wall: for some reason, they like to take a rag to the walls, so I let them help me. They might not get much done, but it helps curb the whining.
- repairing the wall: this one is a bit tricky because they are working with spackle. I put a little bit of spackle on the putty knife and showed them where to put it. Since putting it on doesn’t have to be exact, it’s perfect for them. They just spread it around and they're done. I also let them help a little with sanding it off, but they seemed to get bored with this part so it didn’t last long.
- painting around the outlets: Since the outlets were covered with tape, I wasn't worried about them making a huge mess. And they did ok. Getting the brush back when they were done was a challenge, but we made it.
Tape the Wall.
This step is life changing, especially when you have kids in the house. If you mask off everything, the painting stage goes much quicker - and you know that quicker is better when you have little hands trying to paint.
Before kids, I rarely taped the adjacent walls and relied on my mostly steady hand to create a nice line. Oh my goodness, why?!?! Taping the wall ensures a nice line every time. Except when you don’t get the tape all the way down and the paint leaks behind. Not that it’s happened to me, of course. ;)
All done.
We finished this project over a weekend. We waited a few days to hang the painting. And we never had to send the kids away. I can't say that they didn't get into the paint; I know someone left a handprint in the first coat, but it was easily fixed.
Painting is a great way to freshen up a room. And it's not that hard to do it yourself, even with little kids in the house.
And, no, the mom and daughter in the picture are not us. See below for our project pictures.
And, no, the mom and daughter in the picture are not us. See below for our project pictures.
Click here to get a full list of painting supplies and my detailed painting tips and join my mailing list.


Comments
Post a Comment